How to sharpen hedgetrimmers
Does your hedgetrimmer no longer cut cleanly, leaving branch tips frayed? Do branches keep getting caught between the teeth of your hedgetrimmer? Do you find it harder to work, especially when trimming thicker branches? The signs are clear: the time has come to sharpen the blades of your hedgetrimmer.
Sharpening your hedgetrimmer is a routine maintenance task that you can do whether your hedgetrimmer is electric, battery-powered or petrol driven, professional or telescopic for easy overhead cutting.
Before you start working with your hedgetrimmer or – even better – after you finish using it, take a few minutes to check the condition of the blades: are they damaged, bent or chipped? Are the teeth still sharp, or have they lost their edge? In today's article we talk about how to sharpen hedgetrimmer blades and how to keep them in perfect condition.
How to sharpen hedgetrimmers
Do you already know how a hedgetrimmer works? It’s a bit like a guillotine: a static blade slides back and forth along a bar while the other blade remains static. Specifically, slotted holes allow the moving blade to slide between a bar joined to the machine body and a second fixed blade that acts as a guide. These 3 elements are connected together by bolts and nuts.
With a well-sharpened hedgetrimmer you can work faster and make cleaner cuts, thereby benefiting the health and appearance of your plants. To sharpen your hedgetrimmer, use a flat file and a sharpening stone, as we will see later. But avoid "aggressive" tools such as grinders, which remove too much metal and cause the blades to overheat.
When performing maintenance on your hedgetrimmer, including sharpening:
-
Protect your hands by always wearing strong or cut-resistant utility gloves.
-
Make sure the engine or motor is cold.
-
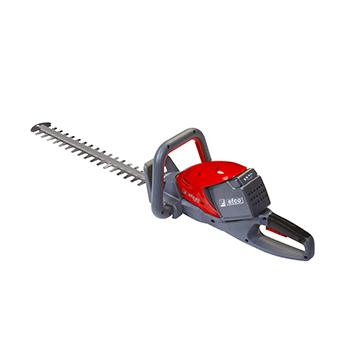
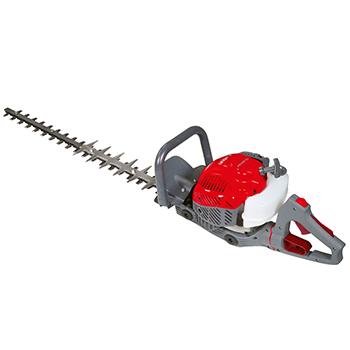
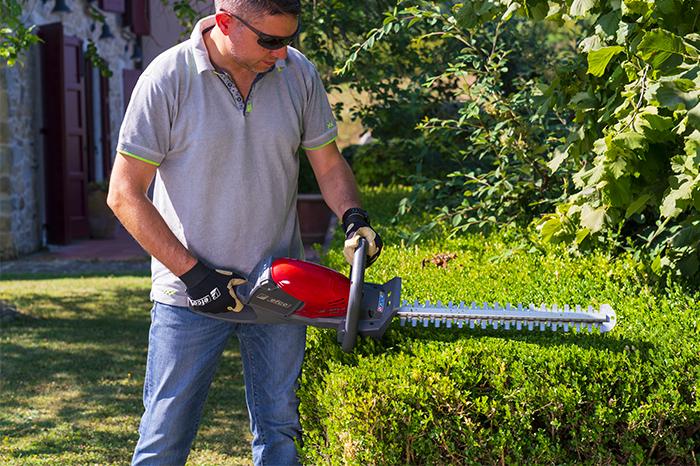
If you have an electric hedgetrimmer, such as the Efco TG 750 E, unplug the power cable. Or, if your hedgetrimmer is battery operated, like the TGi 45 model, remove the battery. If, on the other hand, you have a petrol hedgetrimmer, such as the TG 2470 P professional model, check that the engine is off and the earth switch in the stop position, and remove the spark plug cap.
For professional sharpening, it’s preferable to remove the hedgetrimmer blades, as follows:
-
Slacken off the gearbox screws.
-
Unfasten the nuts and bolts securing the blades and hedgetrimmer bar.
-
Open the gearbox cover.
-
Remove the blades from their housing.

At this point, to sharpen the hedgetrimmer proceed as follows:
-
Place the blade on a flat surface with the teeth exposed along the entire length and the blade positioned so that you can work comfortably.
-
Secure it to the work surface with two clamps, one at each end.
-
File both cutting edges of each tooth using the flat file, keeping it at a 45° angle to the blade surface, or parallel with the bevelled cutting surface.
-
Pass the file in one direction i.e., towards the cutting edge, and lift off the surface for the return pass.
-
Make the passes light so that you remove only a small amount of metal each time.
-
Release the clamps and reposition the blade to file the teeth along the opposite edge of the blade (if your blade has teeth on both edges).
-
Turn the blade over and secure it with the clamps.
-
Use the sharpening stone to deburr (smooth down) the filed teeth on the rear of the blade.
If you have a double-bladed hedgetrimmer like the three models we mentioned earlier – Efco TG 750 E, TGi 45 and TG 2470 P – repeat the steps for the second blade. After sharpening both blades of your hedgetrimmer, clean them with a dry cloth or stiff-bristled brush to get rid of any filings. Reassemble the blades, oil them with lubricant (or spray-on lubricant) and start the hedgetrimmer for a few seconds, so as to distribute the lubricant over the entire surface.
In a hurry? If so, we suggest you perform a quick sharpening of your hedgetrimmer without removing the blades. Here's how to do it:
-
Place the hedgetrimmer on a surface at a convenient height for you to work on (you can clamp it in a bench vice, although this isn't essential).
-
File the teeth of the first blade following the instructions above.
-
Rotate your hedgetrimmer 180°.
-
Pass the sharpening stone over the back of each blade tooth.
-
File the teeth of the other blade (if your hedgetrimmer is double-bladed).
-
Rotate the machine again by 180°.
-
Smooth down the back of the teeth on the second blade with the sharpening stone.
-
Clean any filings from the blades using a cloth or brush.
Do you genuinely have no time to sharpen your hedgetrimmer? Do you feel you’re not familiar enough with the machine to do it properly? You can contact our Efco sales outlets and service centres for an effective and fast sharpening service.
Hedgetrimmer blade maintenance
While the blades of your hedgetrimmer are disassembled, it’s a good opportunity to thoroughly clean the blades and bar. It is important to remove all dirt (dust, oil, grease, fragments of vegetation etc.) that builds up around the bolts and nuts because, if the moving blade cannot slide freely, it will put a strain on the hedgetrimmer engine/motor. For this purpose you can use a brush with metal bristles.
Before finishing up, you also clean the gearbox cover. After every 20 working hours, grease the gearbox with suitable lubricant, such as molybdenum disulfide grease.
Finally, the latest tips for keeping your hedgetrimmer blades in top condition. As soon as you have finished trimming hedges and bushes:
-
Clean the blades with a dry cloth or, in the case of very stubborn dirt, with a wire brush.
-
Check that the blades are well lubricated: it’s important to minimise friction during operation to ensure the blades last longer. If necessary, oil them using good quality biodegradable lubricant (don’t use recycled oil).
-
Check the tightness of nuts, bolts and screws.
If you are still considering which hedgetrimmer is best for you, take a look at this article that compares the features, usage methods and environments of the various types of hedgetrimmer: petrol engine, electric and battery-powered.
Related articles

Filtering dirty water with a self-priming water pump - Efco

