How to Make Planks from a Trunk: The Complete Guide
Do you love carpentry and DIY projects? If so, you will often need raw materials for your projects, including solid wood planks that you can also buy ready-made and seasoned. However, if you happen to have a fallen trunk or large branches available, you can make your own wooden planks for free, which will be ideal for craft projects once they have been dried out.
In this article we illustrate how to cut wood into planks, what tools and methods are most suitable for this task and how to season the cut planks.
Tools for cutting wood into planks
How can you take advantage of a felled tree trunk in the garden or countryside? You can take it to a sawmill to have it cut into planks, but that would be rather expensive. Alternatively, you could cut it with a bandsaw, which is a professional wood-cutting machine that you can also get in cheaper versions for hobbyists: even so, it’s an expensive investment.
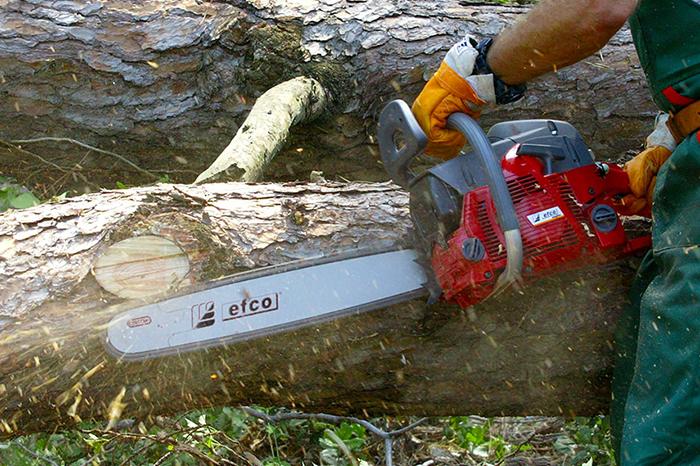
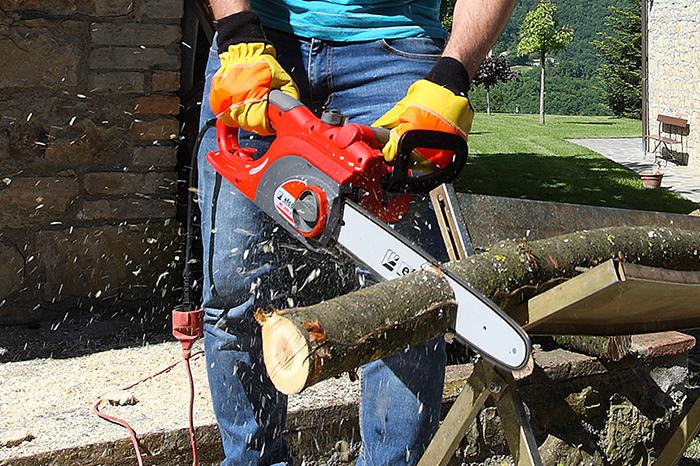
If instead you have a chainsaw, you can use it to cut the trunk lengthwise; all you’ll need to buy is a planking guide, which will turn your chainsaw into a portable bandsaw for an affordable outlay. A planking guide is simply a metal frame that attaches to the chainsaw: once in place, it rests on the trunk and functions as a guide as you push the chainsaw to cut the planks. The guide bar—and therefore the power rating—of the chainsaw, as well as the dimensions of the planking guide, must be proportionate to the diameter of the trunk and the hardness of the wood.
Now that you have a planking guide for cutting with a chainsaw, here is how to saw the trunk into planks:
-
Raise the trunk or log onto a pallet, so that it’s off the ground.
-
Rest the planking guide (together with the chainsaw) on the trunk, using a piece of wood or strong plastic or metal profiles to keep it stable. This only applies to cutting the topmost plank (slab), which will have a curved upper face. Once you have removed the slab, the surface will be flat and you can place the planking guide directly on the trunk.
-
Cut by pushing the chainsaw and planking guide assembly along the trunk.
-
As you cut, insert wedges between the cut plank and the trunk, in order to help keep the chainsaw moving through the wood.
-
When you reach the end of the trunk, remove the sawn plank.
-
Reposition the planking guide and, if necessary, adjust the thickness of the cut.
-
Start milling the next plank.
Using a petrol engine chainsaw? Before starting to cut, remember to refuel so that you don’t run out of fuel halfway through cutting.
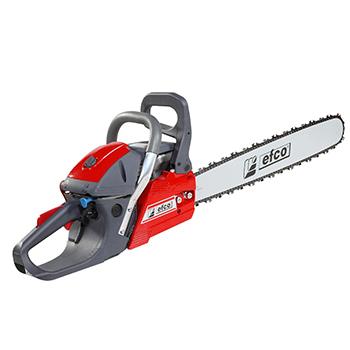
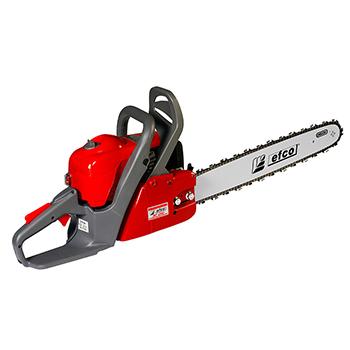
To mill a medium-sized trunk into planks with a chainsaw and planking guide, you can use an electric chainsaw such as the Efco MT 2000 E with 2 kW power rating and 41 cm guide bar, or a basic petrol engine chainsaw like the MTH 5100 (2.2 kW and 46 cm guide bar) or a medium power chainsaw such as the MT 5200 (2.5 kW and guide bar up to 46 cm).


Planking techniques
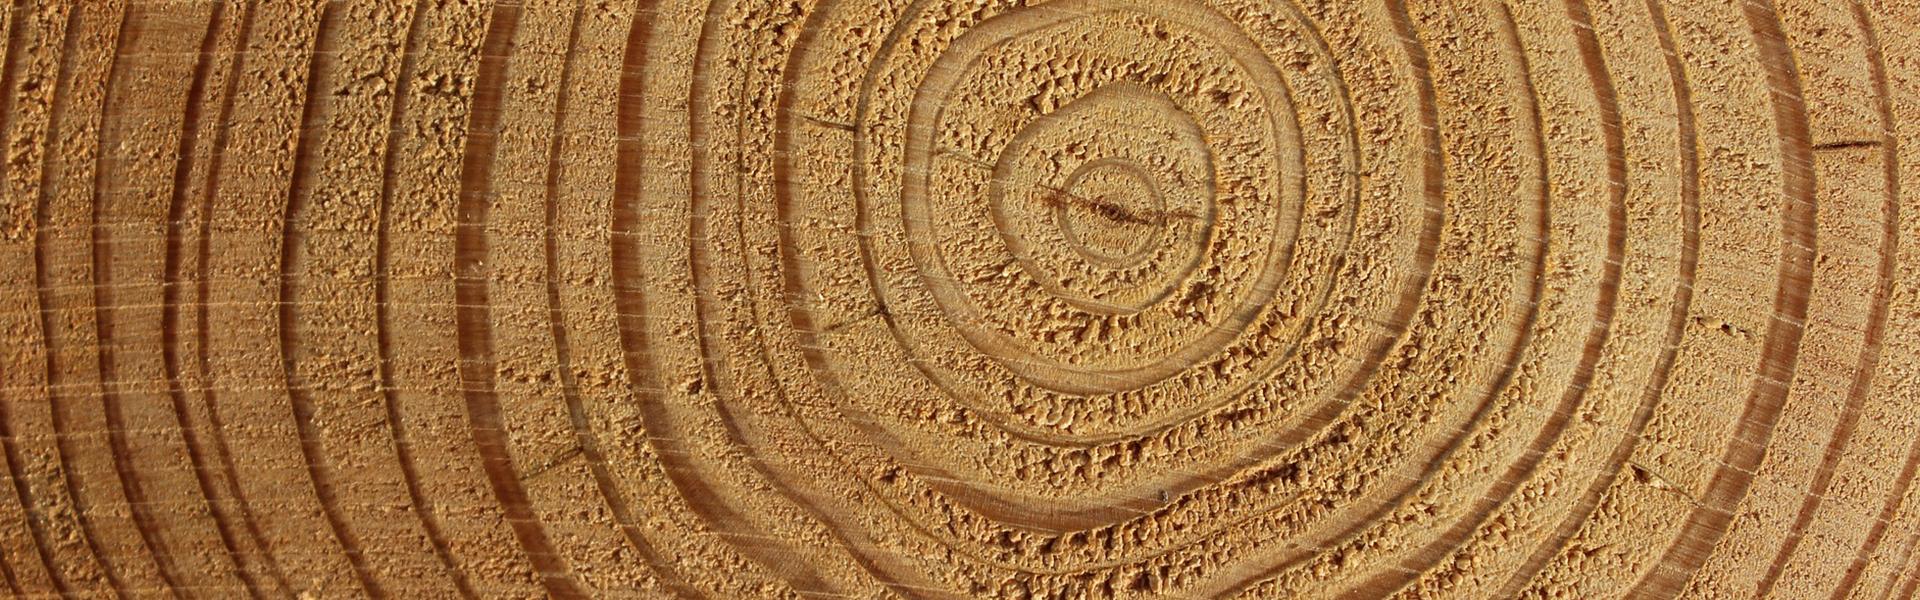
In explaining above how to obtain planks using a chainsaw and planking guide, we described a simple and fast milling technique: the tangential cut. Trunks should be cut in a way that optimises yield and minimises waste, bearing in mind that planks can come in different shapes and sizes. Depending on which part of the trunk they are cut from, the planks will warp to a greater or lesser extent during the process seasoning process; the best planks maintain their shape without warping, twisting or distorting.
Tangential cutting means cutting tangentially to the annual growth rings, which creates parallel planks with little waste that show off the "figure" of the wood: however, remember that with this type of cut, only the middle planks are structurally stable, whereas those above and below tend to distort.
Alternatively, you can use a radial cut, i.e. sawing perpendicular to the growth rings: in this case you get planks with good-quality straight grain, so they are more stable. On the other hand, compared with tangential cutting, radial cutting is more complex and wastes more wood.
Little or nothing is wasted if you use the slabs and planking offcuts as firewood. Find out how to cut them down to size in our article on how to cut firewood.
How do I season wood?
Once sawn, the planks must be seasoned. Wood that you use for carpentry must be dried similarly to firewood. But whereas firewood is seasoned because it produces more heat if properly dried, wood used for furnishing and decorating the home should be dried to minimise changes in volume and shape as the wood’s moisture content varies, due to the fact that is a living material.
The wood must be as structurally stable as possible if you want to build a bookcase, table or frame out of it without any nasty surprises—such as deformations and cracks—even after the final product enters use.
Depending on how it will be used and where (indoors or outdoors), the wood you use for your craft projects must contain some moisture. For example, if the planks milled from your log are used to make indoor furniture, their ideal moisture content is 8-12%. If, on the other hand, you want to use them to clad an internal wall, the moisture content should be between 6 and 10%.
To season the wood, stack your planks in a dry, well-ventilated and sheltered place, spacing them with strips of wood so that air can circulate evenly across their entire surface. If you have cut more than one log into planks, you should keep them in order, like they do in sawmills. For example, you can stack tangentially cut planks—the most common type—in the order that you cut them, piling them in log form so that the original trunk shape is recreated.
Even when doing something that you are passionate about and enjoy, such as DIY, don’t neglect the safety factor: a chainsaw is always a chainsaw and you can never be too careful around them. That's why, when doing DIY projects with a chainsaw, we recommend that you wear protective clothing. Wear chain-resistant gloves, jacket, trousers and boots; don noise filtering ear defenders; and protect your face and eyes with goggles or a visor.
Protective clothing is just part of the broad category of accessories available for your chainsaw, from spare parts to tools for maintenance and refuelling: check out this overview of the various accessories for chainsaws.
Are you a novice chainsaw user in need of some guidance? You can read our dedicated article, which is a mini course on how to use a chainsaw.
Related articles

Winter is here: which tools should you put in storage and how?

How to choose the best pruning chainsaw

How to clean a blower