Build a ventilated firewood shed using pallets
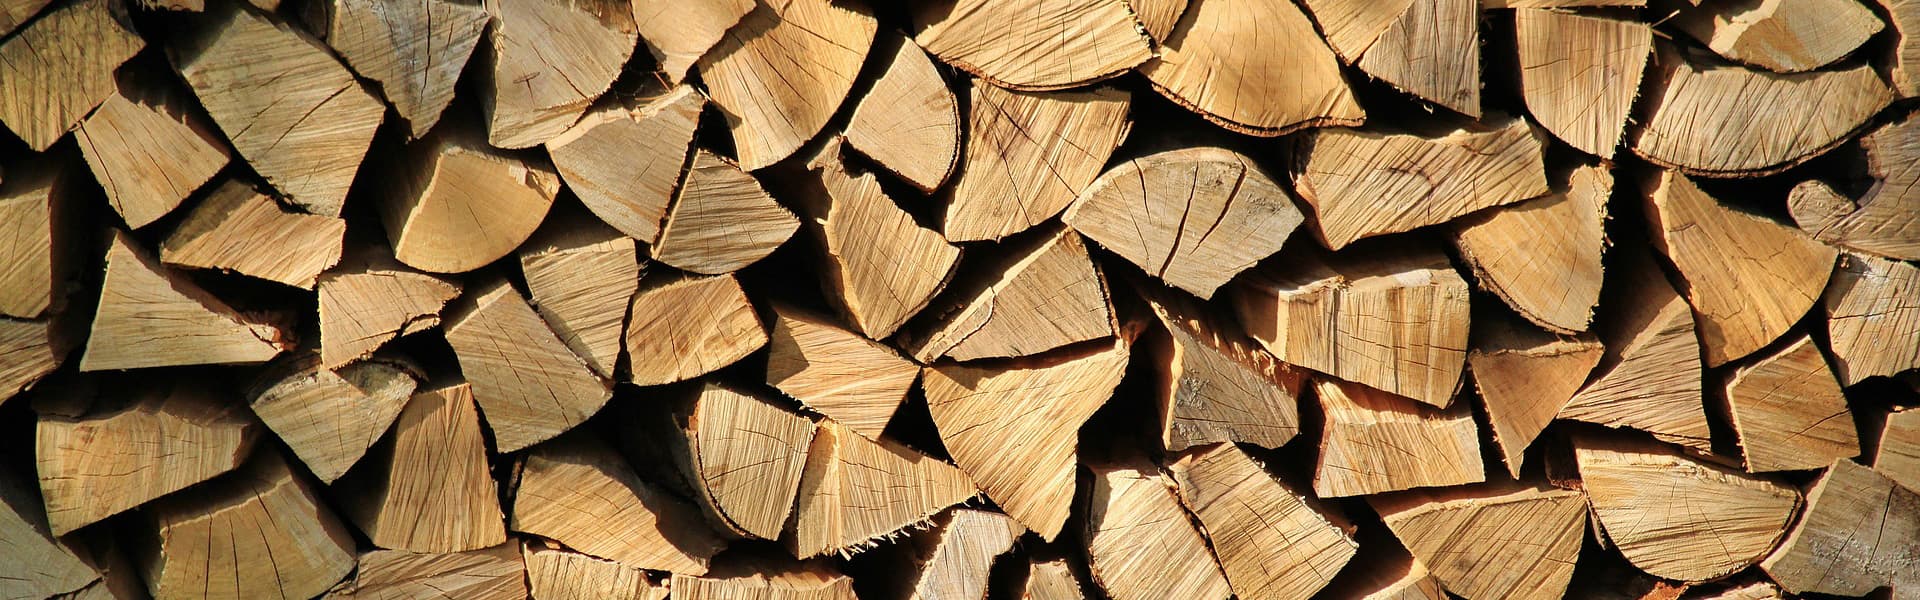
Do you gather firewood in the woods? From cutting down trees and hedges, or from pruning jobs in the countryside? Do you buy it from a retailer? In any case, we recommend getting it early.
It’s best to buy firewood in the spring rather than right before fall or winter: you’ll have more variety, and it will burn better when you’re ready to use it. If you cut it yourself, the best time to do so is from late fall through spring, when plants are dormant and, therefore, the moisture content in their tissues is minimal. Wood needs to season outdoors to dry out. The duration of the process depends, among other things, on the type of wood: a minimum of 8-9 months to one year, typically 18-24 months. In any case, the wood’s ability to produce heat depends on how well it has seasoned.
An outdoor firewood shed is a structure built to promote air circulation around the stored wood, and help it dry out. It’s typically used to store wood that’s already dry—ready for the stove or fireplace—but you can choose to stack the wood there for all or part of the seasoning period. Today we’ll look at how to build a firewood shed using pallets.
DIY outdoor firewood shed: the project and what you’ll need
The freestanding DIY firewood shed we suggest you build consists of:
-
A base that keeps the wood off the ground and allows air to circulate from below as well.
-
Side panels that hold the logs in place and protect them from the elements while allowing air to pass through.
-
A frame that supports the roof.
-
A single-sloped roof that shelters the wood from the rain.
We designed the front and back of the wood shed to be open, but you can customize your project by closing off the back with boards, just as you would for the sides. On the front, you can shield the wood storage compartment by adding ventilated doors similar to those on the sides. The orientation of the roof slope depends on where you place the wood shed: if the back is close to a wall, rainwater must drain from the opposite side (i.e., the front). If, on the other hand, the wood shed is far from other structures, rainwater can drain from the back.
Here is what you will need to build a DIY firewood shed with pallets:
-
2 identical pallets in good condition for the base of the firewood shed: let’s assume we’re using standard 80x120 cm pallets open on all 4 sides.
-
2 boards to join the base pallets together, for example, 12 cm wide, 2 cm thick, and 176 cm long.
-
4 posts for the corners of the vertical structure: square-section posts measuring 8x8 cm, up to 2 m tall, will work well.
-
5 battens for the frame supporting the roof, for example, with a cross-section of 5x6 cm: 3 pieces 176 cm long, and 2 pieces approximately 130 cm long (depending on the roof’s pitch).
-
Boards cut from other pallets to cover the sides and, if necessary, along with other reclaimed lumber, to be used as diagonal braces.
-
Galvanized sheet metal to cover the roof (it should extend about 5 cm beyond the roof frame on each side).
-
6x100 mm flat head countersunk wood screws.
-
Wood preservative suitable for outdoor use to protect the wood shed.
For building this DIY firewood shed, we’re only providing approximate dimensions. It all depends on whether you use standard or custom-sized pallets, the type of lumber you have available, and the height you want for your firewood shed. In addition to the wood, you’ll need:
-
A chainsaw or hand saw to cut the lumber to size for building the firewood shed.
-
A crowbar and hammer to disassemble the pallets.
-
A tape measure, carpenter’s square, spirit level, and pencil.
-
A power screwdriver and clamps to hold the pieces in place while screwing them together.
-
A brush to apply the wood preservative.
-
A ladder for working at height.
-
A power station to power electric tools and recharge battery-powered ones.
-
Protective clothing: safety shoes, work pants and gloves, safety goggles, and ear muffs or earplugs.
-
Cut-resistant clothing when using the chainsaw: footwear, pants (or overalls or leg guards), a jacket, and gloves.
A transporter can be useful for moving the materials you’ll use to build your DIY firewood shed to the chosen location. It’s also ideal for effortlessly transporting firewood cut in the woods or countryside back home.


How to build a firewood shed using pallets
We recommend building your DIY firewood shed on site, in its final position (you’ll find our tips on choosing this later):
-
Prepare the base of your DIY firewood shed: place the pallets side by side along the 120 cm side, then screw the boards along the 80 cm sides so that they cover the holes and the two pallets form a single 160 cm unit. Extend the boards beyond the edges of the pallets at both ends, so that you have a surface to screw the posts onto.
-
Set up the vertical structure: secure the 4 posts at the corners of the pallet base by screwing them both to the pallets themselves and to the boards. The front and rear posts must be of different heights to give the roof a slope, which should be adjusted according to the situation, as mentioned earlier.
-
Build the roof frame: screw two 176 cm battens and the two 130 cm battens to the top of the posts, facing outwards, forming a sort of frame 186 cm long and approximately 130 cm wide. Reinforce the frame by fastening the fifth batten halfway along the battens forming the sides of the firewood shed.
-
Brace the structure: make the sides of the firewood shed more sturdy and stable by fitting diagonal wooden braces between the posts and the roof frame at the top, and between the posts and the pallets at the base. Do the same for the back of the firewood shed.
-
Reinforce and finish the sides: clad them with horizontally laid planks, leaving a gap between each one equal to roughly their width.
-
Protect the firewood shed from the elements: apply wood preservative to all wooden surfaces.
-
Complete the roof: fasten the sheet metal to the roof frame with screws.
Once you’ve finished building your DIY firewood shed, you can use a leaf blower to clear the work area of sawdust, wood scraps, and so on.
Where to place your DIY firewood shed
Your DIY outdoor firewood shed must rest on a flat, stable surface: this can be a concrete or paved surface, such as a sidewalk. If, on the other hand, you decide to place it directly on the ground, level the area after clearing it of any existing vegetation, for example using a brush cutter or lawnmower.
What is the best place for the firewood shed? To aid the drying process, it must be exposed to the sun and wind whilst, at the same time, being sheltered from the rain. Ideally, it should be positioned so that the front faces south. You can place it against a wall, keeping a gap of about 10 cm to ensure air circulation. Alternatively, the firewood shed can stand on its own, away from the garage, the house, the boundary wall, etc.
From a practical point of view, the location should be convenient both for stacking the logs and for carrying them into the house without difficulty. The firewood shed should certainly not be situated in an enclosed space (garage, cellar, etc.) because, without proper ventilation, there is a risk that damp will build up and rot will set in.


How to organize the wood in the firewood shed
Freshly cut wood contains a lot of water; on average, 60% of its weight. If it is not well seasoned (or not seasoned at all), it burns poorly because some of the heat is used up simply to evaporate the water. To burn well, it must have a moisture content of 15-20%, and it is through seasoning that the wood loses its excess moisture. Therefore, before using it for heating, check its moisture content with a hygrometer.
Once split into pieces of the right size for your stove or fireplace, store the wood in the firewood shed. Stack it by placing the logs parallel to one another to form a row, and continue by gradually building up overlapping rows. Start with the largest and most uniform pieces of wood, stacking them at the bottom.
To help the wood dry properly, it shouldn’t be packed too tightly: leave gaps between the logs to allow air to circulate. Leave space for ventilation between the stacked wood and the roof of the firewood shed too. If you have wood that is already dry and ready for use, you can stack it with the logs closer together, thereby maximizing the firewood shed’s capacity.
One final tip: not all wood is the same. Do not burn used items: old furniture, building materials, etc. are treated with paints, glues, and other harmful substances. You can use wood offcuts, for example from sawmills or joinery workshops, provided they are “clean”. Furthermore, to ensure it burns well and without polluting, as well as the quality of the wood and how well it has been seasoned, it is important to use the correct technique for lighting a fire.
What else can you make using pallets? Here are a few ideas from our blog:
Earlier, we mentioned the power station: find out just how useful its power reserve is, not only for DIY tools and equipment, but also for powering electronic devices and small household appliances.
Related articles

How to make an orchard: the complete guide

DIY wooden fence: here's how to build one cheaply