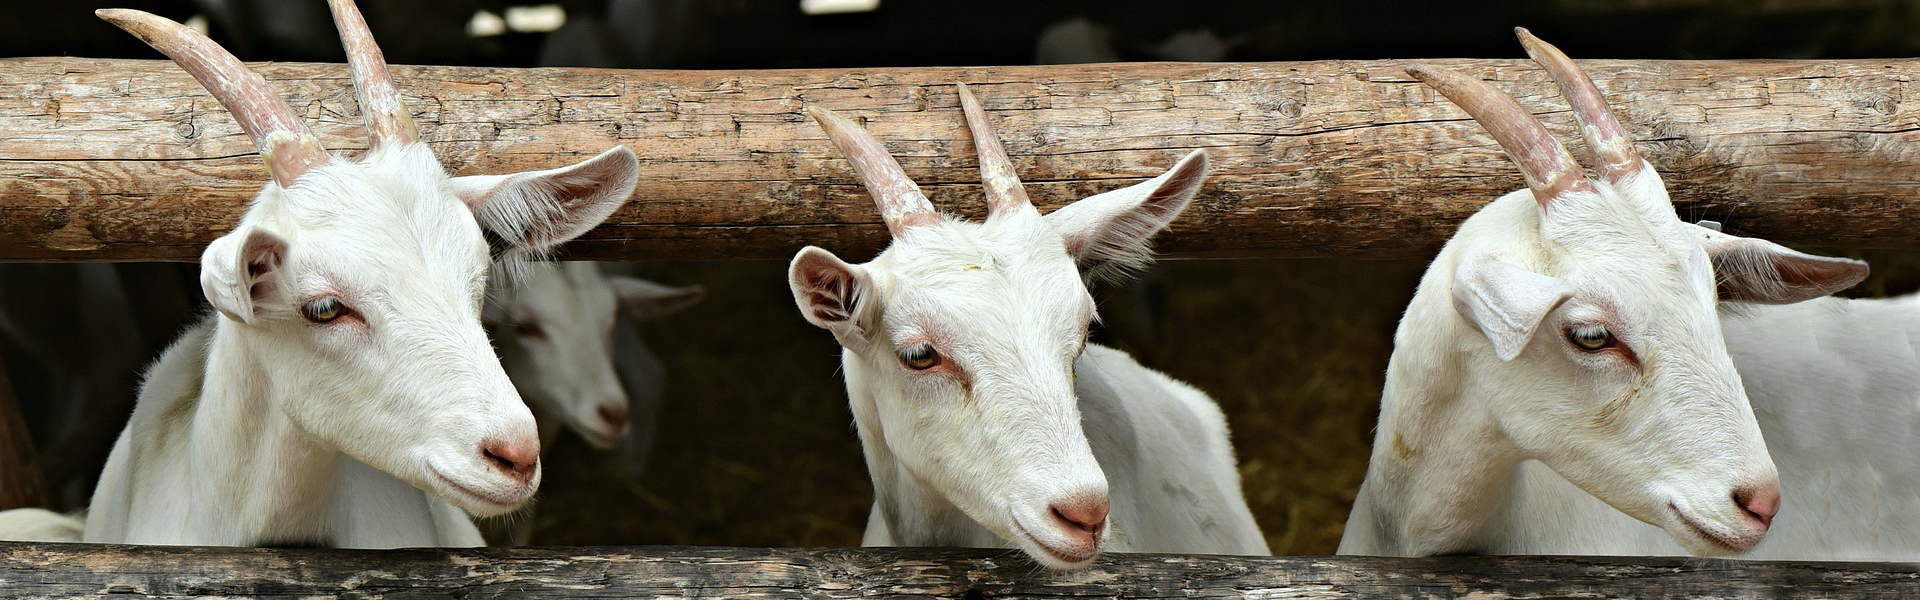
If you live outside the city or have a plot of land in the countryside, you may have enough space to keep some animals. We don't mean typical house pets such as dogs and cats, but farm animals such as chickens, rabbits, sheep, goats and more. If you have children or grandchildren, living in close contact with nature can be very instructive and beneficial for them.
Goats and sheep were some of the first animals to be domesticated by humans millennia ago. Today we find out exactly how to make your own shelter for goats or sheep. We are not talking about a barn for raising dozens of animals for dairy or meat production, but a wooden shelter to house a couple of goats or sheep. For this purpose, you could purchase a prefabricated shed that you assemble yourself, or build your own sheep shelter from scratch: we favour the latter solution and suggest using recycled materials as much as possible.
Design a wooden shelter for goats and sheep
The sheep shelter is simply a covered structure in which the animals can take refuge from the elements, feel safe, rest, eat and drink. As we always recommend, before you get on with sawing and nailing planks together, start with a design. First and foremost, the shelter should be carefully planned around the needs of the animals. It should also be practical for you to maintain, as well as blending in with the surroundings.
To ensure the wellbeing of your sheep and goats, the DIY shelter must be:
-
Large enough: every adult animal needs 1.5–2 m2 of living space in order to rest and move freely. The floor should be covered with a dry, clean layer of straw (bedding), to provide good heat retention and ensure the physical comfort and wellbeing of the animals.
-
Insulated from heat and cold: although hardy, sheep are sensitive to heat, cold, sudden temperature fluctuations, wind and drafts. They have optimal ambient temperature ranges, but can adapt to lower and higher temperatures depending on age, breed and other factors.
-
Well ventilated: to ensure air circulation that disperses harmful gases (which develop from manure, such as ammonia), foul odours and humidity, as well as freshening up the interior environment during the warmer months.
-
Well lit: natural light is essential for the welfare of the animals. The glazed area should be at least 1/20 of the area of the shelter.
-
Quiet: too much noise is a source of stress for goats and sheep.
Also as regards the positioning of your DIY sheep shed: once its location has been determined, orient the shelter so that it provides protection from strong prevailing winds, as well as good ventilation and exposure to sunlight.


What materials should you use to build your DIY shelter? The structural materials should be strong and ensure good thermal comfort. Wood meets both requirements, provided it is thick enough. The materials shouldn’t be toxic or cause trauma or injury to the animals, and should allow you to clean out the sheep shed properly. The floor surface must be comfortable for them to rest on—an activity they spend a good part of the day doing—so it should be smooth and not slippery. A dirt floor covered with straw may suffice, although the straw will need topping up and changing regularly. Inside the shelter, provide a drinking trough and a feed trough, which you can replenish in winter using hay obtained from drying out grass cut by a garden tractor.
Even if your "family" goats and sheep are pets as far as you are concerned, they are classed as livestock, so there is a certain amount of red tape that you need to comply with. Here in Italy, the shelter must be registered in the zootechnical registry through the veterinary service of the local health authority.
Livestock facilities must be located a minimum distance from residential properties and waterways, and comply with a number of other rules. To be sure that everything is compliant, we advise finding out from your local council whether the restrictions also cover small domestic animal shelters. It is better to err on the side of caution, particularly as you also don’t want to fall out with your neighbours.
Unlike sheep, goats graze and forage not only grass, but also shoots, leaves, fruits, etc. which they can reach even in high places, by rising up on their hind legs. It is therefore a good idea to enclose the outside area in which they can roam, or fence off fruit trees, vegetable patches and anything that could become a potential food source.
Build your own animal shelter
We recommend building your sheep shed from mostly reused materials, so as to save money and avoid wasting resources that are still useful. Each project is different, so we will only give general indications regarding materials and construction methods for creating a “modular” DIY wooden animal shelter, that is, a basic square unit which you can replicate to suit your needs. The quantity and dimensions of the components depend on the size of the shelter and on the materials you have available, specifically pallets.
Besides a chainsaw, the tools you may need to build the wooden shelter are a jigsaw, electric screwdriver and stapler, as well as a tape measure, level, hammer and ladder. A transporter is also very helpful for transporting pallets and equipment without worrying about their weight. Wear utility gloves and protective spectacles; when cutting with a chainsaw, remember to exercise caution, observe safety rules and wear cut-resistant clothing.
So let's see what you will generally need to erect a DIY sheep shelter:
-
Walls: these are made up of whole (not disassembled) pallets; each wall can be as long as two pallets laid lengthways. You can make things easier for yourself by procuring pallets of the same type and having the same measurements. Before using the pallets, we advise you to at least clean them down with a high-pressure washer.
-
Load-bearing structure: this must be reinforced by square wooden fence posts of suitable height, which are driven into the ground after treating the buried section with tar. The pallet walls are also part of the load-bearing structure.
-
Roof: this should be pitched to the rear, so that rain flows toward the back of the shelter (if you live in an area with low rainfall you can opt for a flat roof, but it should still have a very slight incline). You can choose between multiple systems for building the roof: we recommend supporting it with wooden joists and finishing it with corrugated sheets laid on top of chipboard panels.
-
Wall covering: for the outside of the sheep shelter you can use wooden planks or tongue and groove boards, for example.
Begin by preparing your workspace: it should be cleared with a lawnmower or, better, with a brushcutter, which can cope with any type of vegetation. If necessary, it must also be levelled. The posts of the shelter, two for each pallet, must be planted into the ground so that they fit inside the outer extremities of the hand jack openings. That means you need four posts for each wall of the shelter, except the wall that is on the same side as the door. On that wall, only the fixed portion is supported by posts.


To assemble the walls all you need to do is lay the pallets lengthways on their sides. Place them end-to-end, keeping the deck (the top surface of the pallet, onto which goods are loaded) facing towards the outside. Each wall needs to be at least two pallets thick. To make the roof slope backwards, the front wall needs to be higher than the rear wall, so you will need to reduce the height of some pallets and their support posts, which you can cut to size using a chainsaw. Likewise, the top of the side-wall pallets must be cut to follow the inclination of the pitched roof. Fasten the pallets by screwing them to wooden boards—which you can obtain from other pallets using a chainsaw—both along the walls and at the corners, to securely interconnect the load-bearing elements of the sheep shed.
Before building the roof of your wooden shelter, create a sort of edging strip along the top of the pallet walls, by fixing wooden planks (measuring 8 to 15 cm wide) around the entire perimeter. Then:
-
Position the wooden joists so that they follow the slope of the pitched roof, spacing them approximately 60 cm apart, and screw them to the edging strip and posts of the shelter.
-
Cover the joists with chipboard panels, then screw the joists and panels together.
-
Protect the surface of the chipboard with an adhesive waterproofing membrane or heavy plastic sheeting, which you can attach using a stapler.
-
Finish the roof with corrugated roofing sheets made of fibreglass, polycarbonate or similar, so that the edges protrude beyond all sides of the underlying chipboard, to which they must then be secured.
If you have a tree trunk available, you can make planks from it by cutting it with a bandsaw, or with a chainsaw mounted on a special guide: here's how to obtain planks from a tree trunk. This job must be done well in advance, because the wood needs to be seasoned before use.
Half of the front wall of the shelter is fixed, like the other walls. The other half forms the door of the sheep shed, which should be secured with hinges and fastened shut using a latch. The door can be made with pallets or chipboard. You can reinforce the doorway with a frame: two vertical wooden battens fixed to the jambs, to serve as uprights, and a third batten on top as a crosspiece.
Once your DIY sheep shed is fully assembled, cut an opening into one of the side walls to function as a window, which you can seal using transparent plexiglass. To ventilate the shelter, the cavity between the top of the pallets and the roof covering above the joists may be sufficient. Finally, cover the external surface of the DIY shelter with thin tongue and groove boards or similar.
If DIY is your forte, take a look at our guides to making an inexpensive picket fence, a garden path, flowerbed borders, a wooden gazebo, a rustic bench, a greenhouse for the winter and a pond for aquatic plants.


