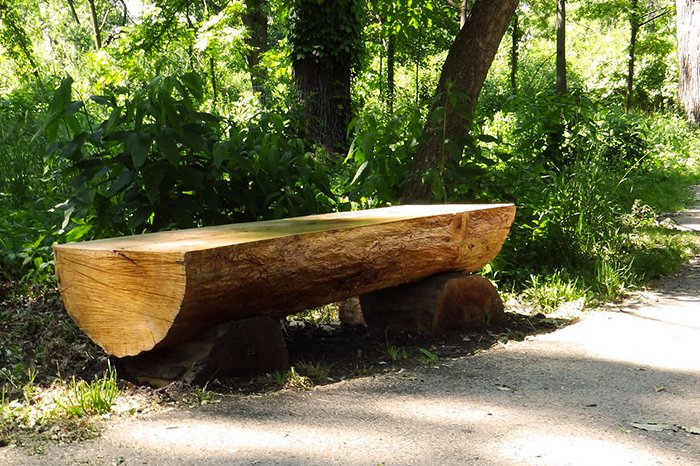
Do you have a felled tree trunk lying around? If so, why not build a DIY wooden bench to put in your garden? It will provide a handy seat and a table top for when you want to spend time outdoors: a comfortable piece of garden furniture that you can make with your own hands in no time.
It is important that the trunk is already well seasoned, because wood is a living material that absorbs and releases moisture and varies in size and shape accordingly. These variations are minimal in seasoned wood, which will allow you to build your DIY wooden bench more easily and also makes it more durable. So without further delay, let's see how to build a new wooden bench for your garden.
DIY wooden bench: what you need to build it
Let's start with the list of items needed to build a no-frills wooden bench for two people:
- 1 trunk measuring 1.20-1.40 m long with a diameter of about 30 cm: this will form the bench seat
- 2 logs measuring about 45 cm long with a diameter of about 30 cm: they will be the supports or legs of your DIY wooden bench
- Chainsaw
- Tape measure or folding rule
- Carpenter’s pencil
Calculate a width of at least 60 cm for each seat on your DIY wooden bench, including the necessary space between each user: so if you want a 3-seater bench, the trunk must be 1.80 to 2.00 m long.
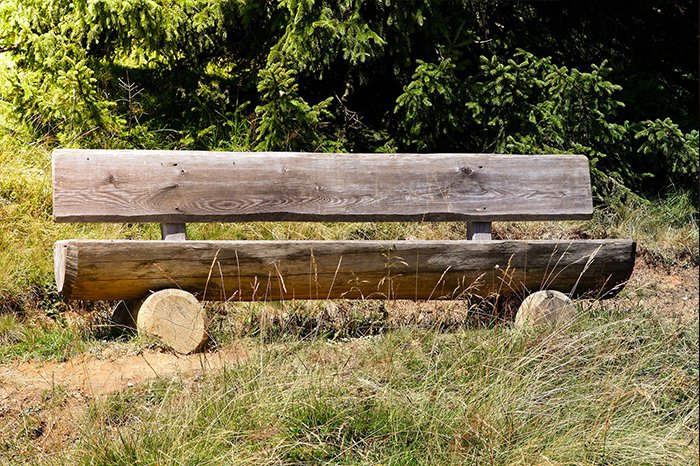
You can make a more elaborate bench by adding a backrest. In this case you will also need:
- 1 wooden plank of the same length as the seat
- 2 supports (square or round wooden fence posts are fine)
- Screws of sufficient length
- Drill
- Electric or manual screwdriver
If you prefer a smoother bench, before cutting the trunks remove the bark using a hatchet, billhook or two-handled draw knife.
What is the most suitable type of wood for your bench? The ideal wood will be weather-resistant and ideally easy to work, such as pine, chestnut or oak. Fir is not recommended, as it does not withstand severe weather.
How to build a DIY wooden bench
Build your bench starting with the seat, by dividing the trunk in half:
- Mark lines to cut along
- Lay the trunk on the ground
- Secure it on each side with wooden wedges, so that it cannot roll
- Cut to the middle of the trunk along its entire length
- Turn the trunk over 180°, secure it again and cut to the middle along the opposite side
You can then plane the seat down and smooth it with sandpaper. After the seat, shape the supports of your DIY wooden bench:
- Secure the first log on a saw horse
- Saw out a U-shaped groove on one side, which the curved part of the seat will rest on
- Do the same for the second log
Now your DIY wooden bench is practically finished. Assembling it couldn't be easier: simply place the two supports in a suitable spot in your garden and then position the seat on top of them, making sure it is stable.
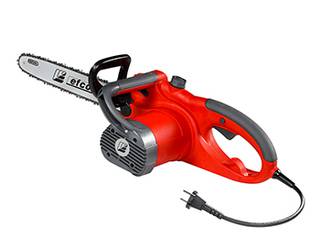
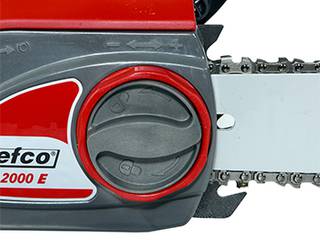
To make a DIY wooden bench you don’t need a professional lumberjack's chainsaw, just an electric chainsaw such as the Efco MT 2000 E with 2 kW rated power and 41 cm laminated guide bar with sprocket nose as standard. You simply press a switch to start the machine, which is easy to use due to its light weight and versatility. You can use it for cutting firewood, small pruning tasks in the garden and, of course, making DIY garden furniture.
If you don't have much experience with a chainsaw and want to know more about how to cut, take a look at this blog article on how to use a chainsaw.
DIY wooden bench: how to protect it
Now that it's ready and installed in your garden, your DIY wooden bench needs protecting from the sun and bad weather (especially rain). How?
- Brush and clean the surfaces to be treated using a damp cloth.
- Use a brush to apply exterior wood finish on the seat (or on the entire bench, if you debarked it) following the grain of the wood.
- Use a brush to apply catramina (a bitumen-based waterproofing coating that protects against moisture) or equivalent product on the bench supports, at the points where they contact the ground and on the surrounding 10-15 cm area.


